This is the embellishment I chose to make a tutorial of, Because it is easy to interchange everything for your own personal scrapbook stash. * The tan is just a sheet of scrapbook paper to make it easier to see the embellishment I put behind it. It is not part of the embellishment. This particular line is by NIkki Sivils line called " Its Raining Its Pouring" I dont know if you can even get it anymore. This is VERY old paper from my scraps that I had rescued because I loved it I thought I could make cards or something with it. Its perfect for embellishments. I love this paper all I have are scraps. It is just so adorable. You may use whatever you have on hand to make your embellishment. Maybe something to match a project you're working on, or something you like you know you will use on a scrapbook page or card soon. You can make your embellishment as fancy or as clean and simple as you want. You see I went for clean and simple. YES!! I KNOW HOW to do clean and simple! shocking I know!

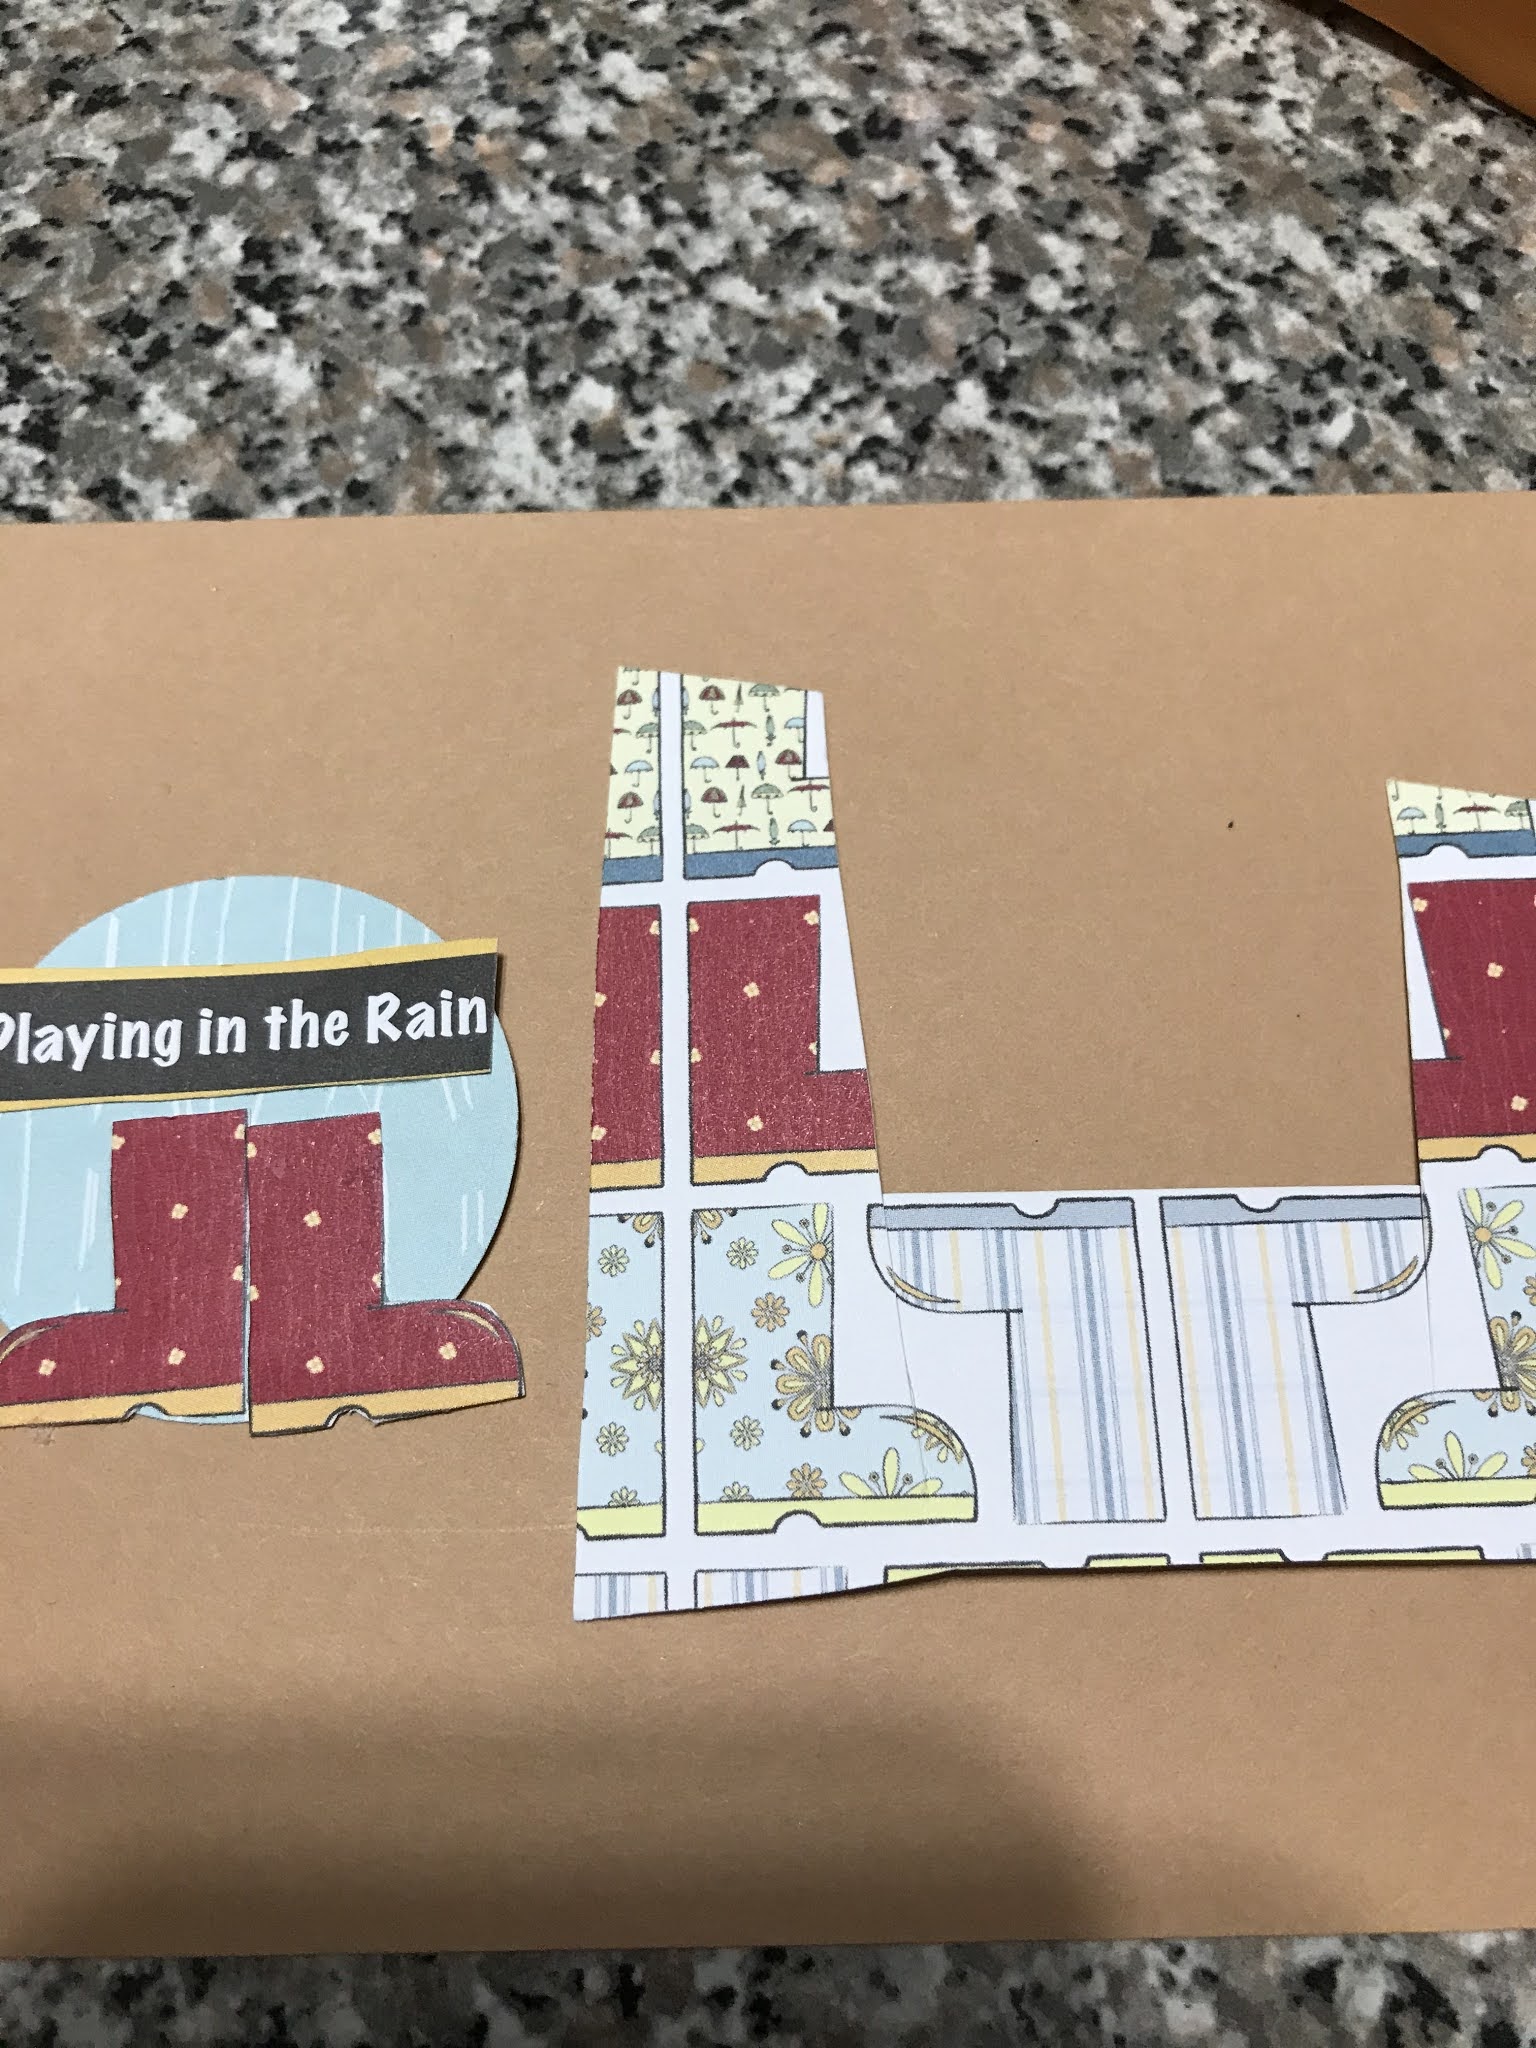
Punch a circle (or whatever shape you desire, a square, a smaller circle or larger circle, a tag, a rectangle. Use what you have) my circle is 1 and 3\4, onto cardstock (it can be scrap cardstock of any color, you wont see but the back and it will be adhered down) Then punch your back ground paper use the same punch and adhere ( (I didn't use glue so it wouldn't ruffle I used double sided tape) it to the punched out cardstock. glue them to cardstock then glue them tor glue I prefer double sided tape for the back gound) to your background paper. WHY adhere them to cardstock? It gives them more stability and strength. IF any of it were to be hanging off the back ground it would stay crisp longer..

Fussy cut your next image or just cut depending on your image, out and adhere it onto cardstock. Glue it onto your back ground of your embellishment. I cut these boots out individually so I would have more room to play with them instead of just putting them there. I could put them a little off from each other or side by side or diagnal. play with your image for the most creative looks.

Next,This patterned paper used to have the larger text "Playing in the rain" on it. But, I cut it out to go on my embellishment. You don't have to put a title or words on yours. You can put bling, buttons, ribbon, washi tape, stamp an image onto cardstock and put it there, use a different embellishment or cut something out of patterned paper. You will notice I didn't ink my edges on this. I usually ink my edges with " Vintage Photo Distress stain" but I didn't feel this project needed it.
Here is the finished product!! show me what you made! I would love to see it! there are no mistakes remember just creative branches in which to place embellishments! haha! ( Thats why my pages have so many embellishments on them! NOw you know my secret hahah!
*I hope you found this tutorial helpful. I welcome your feedback. I will post a more challenging one tomorrow and make it with you! Until then I hope you have a marvelous day and Happy scrapping!