
Tuesday, October 27, 2020
Last night I got so frustrated. I couldn't find a black fine tip pen and I knew I had some. Finally I asked Bella and she produced 2 of them. I should have figured haha. Any way this morning I used one of them to darken in the back ground behind my title on the "I Hope You Dance" layout. It looks so much better I think. You can see the title now.  I hope you enjoy it. I made another layout this morning, but the glue is still wet and visible. SO I will wait till tonight to photo it. I have chat and scrap online with Bash your stash. I hope to get a couple of layouts made. I will post them tomorrow if I get any done. check back tonight or tomorrow for more. OH we have that pesky tropical storm coming. Hopefully I will have internet and power. The generator man hasn't come to
look at out generator yet. Im hoping it isnt a serious problem that is going to be expensive. oh well. Maybe this storm will just be rain. see ya tomorrow, take care!
I hope you enjoy it. I made another layout this morning, but the glue is still wet and visible. SO I will wait till tonight to photo it. I have chat and scrap online with Bash your stash. I hope to get a couple of layouts made. I will post them tomorrow if I get any done. check back tonight or tomorrow for more. OH we have that pesky tropical storm coming. Hopefully I will have internet and power. The generator man hasn't come to
look at out generator yet. Im hoping it isnt a serious problem that is going to be expensive. oh well. Maybe this storm will just be rain. see ya tomorrow, take care!
Sunday, October 25, 2020
New Layouts
Hey there! I joined an online crop this weekend. I may go today for a bit. Im tired. BUT, I have some more pages I want to do. I find when I am tired though I don't do as good of a job on them and they turn out messy. so we shall see. John was up early this morning and finished smoking a pork butt for us and for some dear friends of ours and cooked some corn on the cob and baked beans and cole slaw to go with it. I love that smoker I am so glad he got it!
Here is the first page I did:
 This is one of Bella's casual Graduation pictures she had made on a rooftop in Downtown Mobile, right at the golden hour of sunset. I think they turned out so good. I asked on this group I am a member of and just love (scrapbooking the day away) for title suggestions and a lady on there suggested "Lovely" and it hit me right then that I wanted to do "Isn't she lovely" I got a lot of title Ideas for many other pages I will be making with those photos (I have a lot)I love those ladies so inspirational and always helpful.
Here is another page I used one of their title suggestions for this "Isn't she lovely" page on this one, It fit so much better!
This is one of Bella's casual Graduation pictures she had made on a rooftop in Downtown Mobile, right at the golden hour of sunset. I think they turned out so good. I asked on this group I am a member of and just love (scrapbooking the day away) for title suggestions and a lady on there suggested "Lovely" and it hit me right then that I wanted to do "Isn't she lovely" I got a lot of title Ideas for many other pages I will be making with those photos (I have a lot)I love those ladies so inspirational and always helpful.
Here is another page I used one of their title suggestions for this "Isn't she lovely" page on this one, It fit so much better!
 The challenge was to use circles and dots. half and half on your page. I think I used enough circles and dots. The title is kinda dark. I was outlining it to make it stand out and my pen died on me. I need to get me another one quick! Mary Ann put it on the Friends of Mobiles Fabulous Flamingos page also. (the group I scrap/crop with once a month)
These pictures, I was not sure of at first and them by themselves I just was not crazy about. but when I put them together and with the dance title OH I just loved it. The pictures were perfect for this title. Im glad I printed them.
The challenge was to use circles and dots. half and half on your page. I think I used enough circles and dots. The title is kinda dark. I was outlining it to make it stand out and my pen died on me. I need to get me another one quick! Mary Ann put it on the Friends of Mobiles Fabulous Flamingos page also. (the group I scrap/crop with once a month)
These pictures, I was not sure of at first and them by themselves I just was not crazy about. but when I put them together and with the dance title OH I just loved it. The pictures were perfect for this title. Im glad I printed them.
 Bella got to experience Homecoming this year, but it was different. The school didn't have a dance like usual. The school rented out a movie theater and watched the latest Jurassic Park movie. Then this group of kids got together afterwards and went to cracker barrel. She said she had a great time and she took several sets of photos for me to scrapbook! sorry for the glare! It was getting dark and my kitchen has a flourescent light.
I didn't use a lot of layers or patterned papers with this layout because there are a lot of people in the photos. *That is my rule of thumb. If the photo is busy use less busy papers. If the picture is just a single person and not busy I can use more vibrant, busy paper.
Here is the last one:
Bella got to experience Homecoming this year, but it was different. The school didn't have a dance like usual. The school rented out a movie theater and watched the latest Jurassic Park movie. Then this group of kids got together afterwards and went to cracker barrel. She said she had a great time and she took several sets of photos for me to scrapbook! sorry for the glare! It was getting dark and my kitchen has a flourescent light.
I didn't use a lot of layers or patterned papers with this layout because there are a lot of people in the photos. *That is my rule of thumb. If the photo is busy use less busy papers. If the picture is just a single person and not busy I can use more vibrant, busy paper.
Here is the last one:
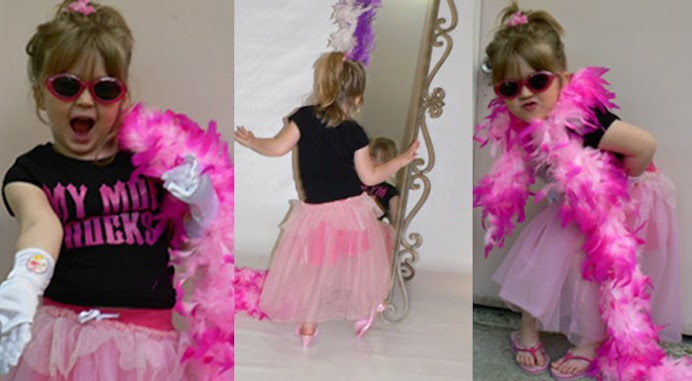
 These pictures are so fun! I had to cut them down though to get them all on there. This was dress up week spirit week of Homecoming. They had so much fun. THe challenge was to use twine, fibers or ribbon. I used ribbon at the bottom of my page.
I have another couple of Homecoming layouts to make. We will see if I do them today. I may just rest. Im tired. I hope you have a good day and if you get the chance, do something creative!
These pictures are so fun! I had to cut them down though to get them all on there. This was dress up week spirit week of Homecoming. They had so much fun. THe challenge was to use twine, fibers or ribbon. I used ribbon at the bottom of my page.
I have another couple of Homecoming layouts to make. We will see if I do them today. I may just rest. Im tired. I hope you have a good day and if you get the chance, do something creative!


Saturday, October 24, 2020
HEY YALL! Today I am going to share a more advanced way of making embellishments. I'm going to be making it with you so bare with me.
1) first I am going to go through my scrap box and find me a scrap piece of cardstock I like. This will be the base of our embellishment. SO, we
are going to be covering over this so it really doesn't matter what color you , just as long as it isn't wrinkled or bent..
 This is my background cardstock I will be punching.
This is the punch I will be using. Now I KNOW everyone doesn't have this punch. So you may improvise by using a rectangle, a tag, a circle or square. Just any shape you would like to. I love this punch for making embellishments though. It is just big enough. Im not saying go buy it. I don't know if they even sell it anymore. This came from my mom's stash when she went into assisted living. Thanks MOM!
IT appears to be a label. It is a Stamping UP punch. SO if you are interested in getting it you may contact your Stamping up dealer for more info.
This is my background cardstock I will be punching.
This is the punch I will be using. Now I KNOW everyone doesn't have this punch. So you may improvise by using a rectangle, a tag, a circle or square. Just any shape you would like to. I love this punch for making embellishments though. It is just big enough. Im not saying go buy it. I don't know if they even sell it anymore. This came from my mom's stash when she went into assisted living. Thanks MOM!
IT appears to be a label. It is a Stamping UP punch. SO if you are interested in getting it you may contact your Stamping up dealer for more info.
 Here is the background paper (that we will be covering up!) punched out.
 Next we want to pick out our paper to cover our cardstock as the back ground paper of our embellishment. Chances are we may only see a trace of this paper but we still put it down in case some of it comes through. Some suggestions: You may have a layout or card you are working on you wanna match, or you may wanna make holiday embellishment to go with Halloween, Thanksgiving or upcoming Christmas. IF you just wanna play and make some thing to practice on that's ok too.
I start with looking through my scraps bin and see if there is anything in there I want to use. (unless I am matching a project) find you several scraps that will go together. (at least 3) They don't have to match exactly but the more they blend or match the better. Here is what I have chosen from my scrap box.
Next we want to pick out our paper to cover our cardstock as the back ground paper of our embellishment. Chances are we may only see a trace of this paper but we still put it down in case some of it comes through. Some suggestions: You may have a layout or card you are working on you wanna match, or you may wanna make holiday embellishment to go with Halloween, Thanksgiving or upcoming Christmas. IF you just wanna play and make some thing to practice on that's ok too.
I start with looking through my scraps bin and see if there is anything in there I want to use. (unless I am matching a project) find you several scraps that will go together. (at least 3) They don't have to match exactly but the more they blend or match the better. Here is what I have chosen from my scrap box.
 Now I will pick one to be my background sheet and punch the label punch out with it and adhere it to the cardstock. It should look like this (or whatever shape your using.)
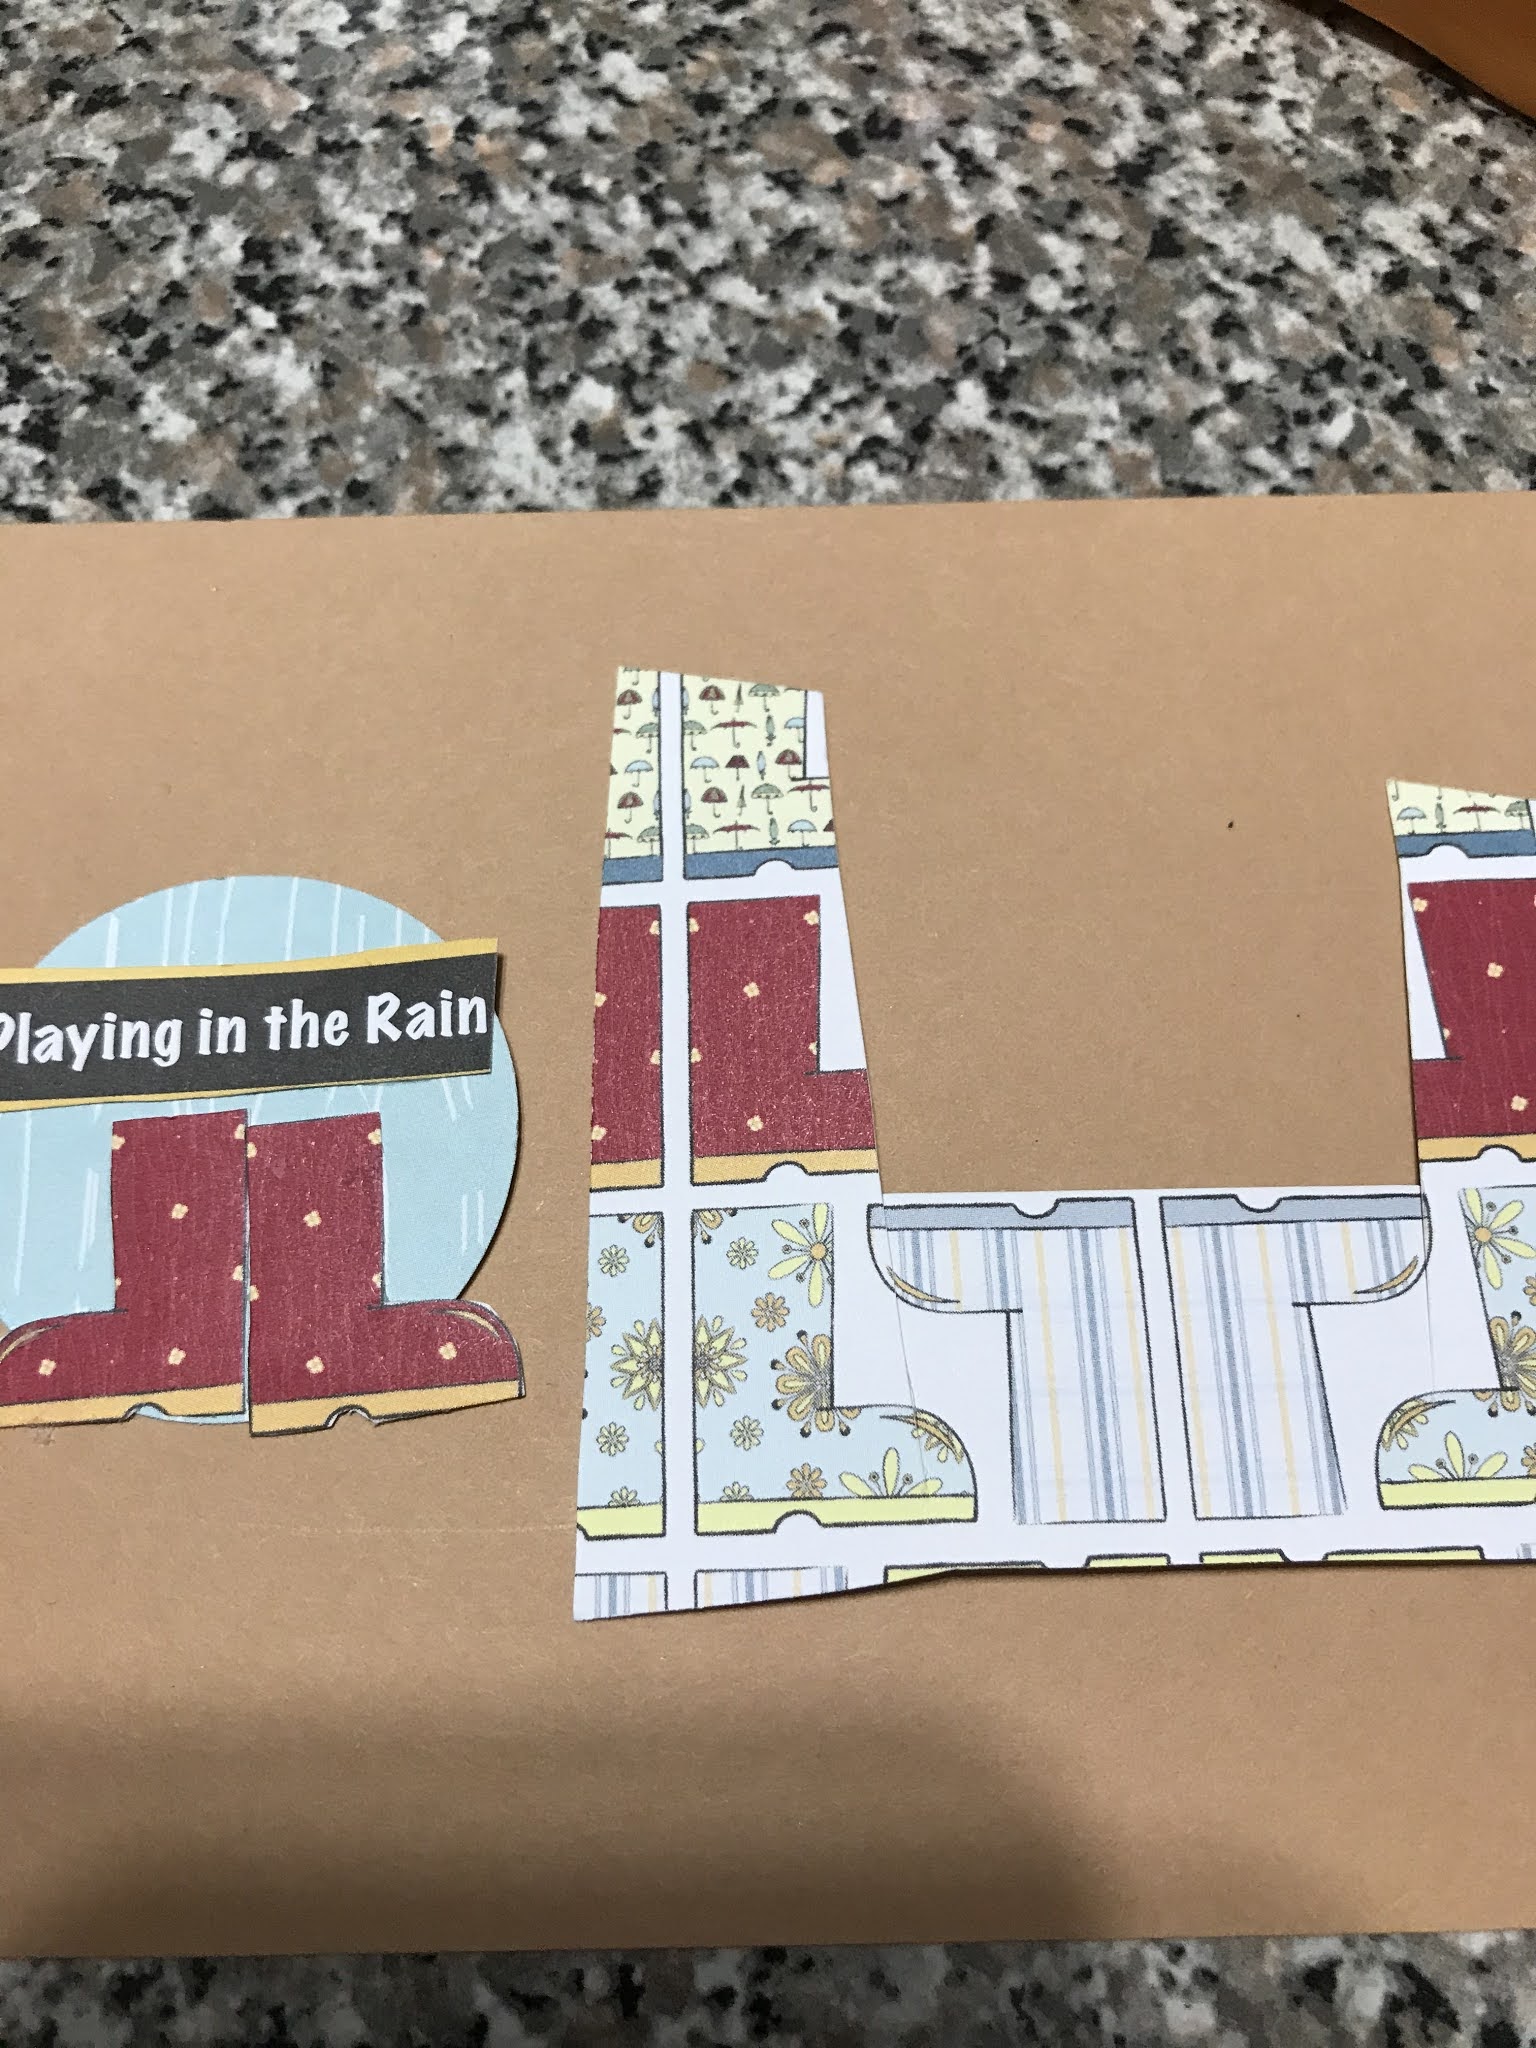
 Next we are going to cut 2 little flags. I hope you picked out 2 more patterned papers that match or blend. IF not do that now, then meet me back right here. First Flag:
 I cut it 1 and 1\2 inches long and 1\2 inches wide. Now Im gonna cut a small cut with the tip of my scissors up the bottom then diagonally on each side to make the flag tips.
 then make the diagonal cuts from each side.
 Make the same diagonal cut on the opposite side.
 Well mine is a little crooked but it gives it character. oh well. We are going to cut another one at 1 inch long and 1\2 inch wide out of the other patterned paper that you picked out.
Do it just like the first one.
Well mine is a little crooked but it gives it character. oh well. We are going to cut another one at 1 inch long and 1\2 inch wide out of the other patterned paper that you picked out.
Do it just like the first one.
 When You finish it should look something like this.
Now we are going to glue (just the top edges )down to the back ground.
*****READ FIRST BEFORE YOU GLUE!!!!!
Your gonna glue JUST THE TOP EDGE about 1\4 the way down ONLY for the LONGEST one first!!!
When You finish it should look something like this.
Now we are going to glue (just the top edges )down to the back ground.
*****READ FIRST BEFORE YOU GLUE!!!!!
Your gonna glue JUST THE TOP EDGE about 1\4 the way down ONLY for the LONGEST one first!!!
 YOur gonna apply the tag to the far right at the bottom ( the top part you glued will go on the bottom right) majority will be hanging off the label or whatever shape your using. see, look!
 Next we are gonna do the same thing with the second flag but we are gonna over lap it some onto the first flag!
 well mine is a little crooked but thats ok. Next is an optional thing. IF you have a stapler or a Tim Holtz Tiny Attacher. Im gonna staple on the two tags.
 I put two right on where they overlap. IF you don't have a stapler that is fine you don't have to do that. Its just to add some extra umph!to it. next I think we will add a flower. pink or purple? lets see what I have. Oh I think this lavender ( Violet) one is prettier than the pink or the darker purple. I had some smaller lavender but they just looked lost on there. This one I believe will be perfect. You can use anything you want. It doesn't have to be a flower I just thought with this pretty paper a flower would be perfect. You could
use a sticker (I always back my stickers with cardstock before I put them on. Its ok if a sticker hangs off as long as you back it with cardstock. for that reason I use white scrap cardstock or a matching color. You could use a button, be sure you put thread through your button. there's nothing much that drives me more crazy than a naked button on a project and yes I admit I used to do it! You can use any type of embellishment you want to
use.
Im going to glue this flower down.
I put two right on where they overlap. IF you don't have a stapler that is fine you don't have to do that. Its just to add some extra umph!to it. next I think we will add a flower. pink or purple? lets see what I have. Oh I think this lavender ( Violet) one is prettier than the pink or the darker purple. I had some smaller lavender but they just looked lost on there. This one I believe will be perfect. You can use anything you want. It doesn't have to be a flower I just thought with this pretty paper a flower would be perfect. You could
use a sticker (I always back my stickers with cardstock before I put them on. Its ok if a sticker hangs off as long as you back it with cardstock. for that reason I use white scrap cardstock or a matching color. You could use a button, be sure you put thread through your button. there's nothing much that drives me more crazy than a naked button on a project and yes I admit I used to do it! You can use any type of embellishment you want to
use.
Im going to glue this flower down.
 ok, Next I think we will add some bling! In looking for some purple bling I discovered I have an overwhelming amount of BLUE bling! I didnt think I had any so I have been buying it to go with Bella's senior pictures. I think I can stop the crusade to buy all the blue bling now! I think I have a huge portion of it.
ok this bling is not as big as I wanted it to be so I think I will do 2 rows with it.
ok, Next I think we will add some bling! In looking for some purple bling I discovered I have an overwhelming amount of BLUE bling! I didnt think I had any so I have been buying it to go with Bella's senior pictures. I think I can stop the crusade to buy all the blue bling now! I think I have a huge portion of it.
ok this bling is not as big as I wanted it to be so I think I will do 2 rows with it.
 We are almost done. Stay with me now. Next we can add a piece of Washi tape or ribbon to the space above the bling (you see why i wanted to add 2 rows?) I wish it was bigger. Let me look at my washi tape first. I found a purpley Blingy washi tape I like. I think I will use it. Yall have to see this!
 So what do you think? If you don't like bling you can use other stuff like stamps on cardstock, ribbon, or plain washi tape. you may interchange this out anyway you can imagine. please share your ideas and designs with me! Id love to see them. I hope this was easy enough to follow along. I tried to make it easy. It's all up to you from here. Use your creativity and imagination and make some fun embellishments.
YOu can look on youtube and pinterest under DIY EMBELLISHMENTS and HANDMADE EMBELLISHMENTS and see more examples of embellishments but there are not many tutorials on how to make them.
So what do you think? If you don't like bling you can use other stuff like stamps on cardstock, ribbon, or plain washi tape. you may interchange this out anyway you can imagine. please share your ideas and designs with me! Id love to see them. I hope this was easy enough to follow along. I tried to make it easy. It's all up to you from here. Use your creativity and imagination and make some fun embellishments.
YOu can look on youtube and pinterest under DIY EMBELLISHMENTS and HANDMADE EMBELLISHMENTS and see more examples of embellishments but there are not many tutorials on how to make them.


Friday, October 23, 2020
Handmade Embellishments


Subscribe to:
Posts (Atom)